This website uses Cookies. Click Accept to agree to our website's cookie use as described in our Privacy Policy. Click Preferences to customize your cookie settings.
Turn on suggestions
Auto-suggest helps you quickly narrow down your search results by suggesting possible matches as you type.
Showing results for
- Google Cloud
- Articles & Information
- Cloud Product Articles
- SSO Integration with Developer Portal and Okta
Topic Options
- Subscribe to RSS Feed
- Mark as New
- Mark as Read
- Bookmark
- Subscribe
- Printer Friendly Page
- Report Inappropriate Content

 LinkedIn
 Twitter
williamssean
Staff
Topic Options
- Article History
- Subscribe to RSS Feed
- Mark as New
- Mark as Read
- Bookmark
- Subscribe
- Printer Friendly Page
- Report Inappropriate Content
3
1
2,252
This article documents how to configure Okta SSO to work with Apigee Dev Portal.
This article is an addendum to the sso-integration-with-developer-portal article and it is assumed that you are following the instructions in that article. If you follow the steps in that article and you configure your Okta instance as outlined here, then you should successfully implement SSO between the Apigee Dev Portal and Okta.
0) Login as an Okta administrator.
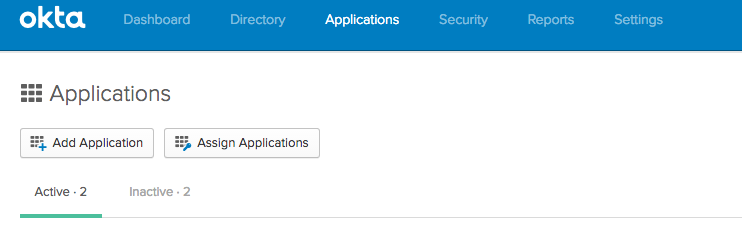
1) From your Okta Applications page, click the Add Application button.

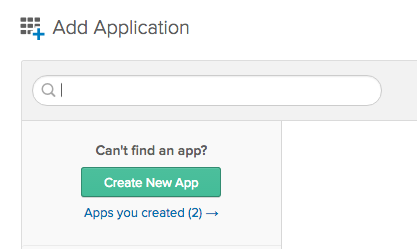
2) Click Create New App

3) On the next screen if there are multiple options then make sure to select SAML 2.0; then click the Create button.
4) Enter the App Name and then click the Next Button.
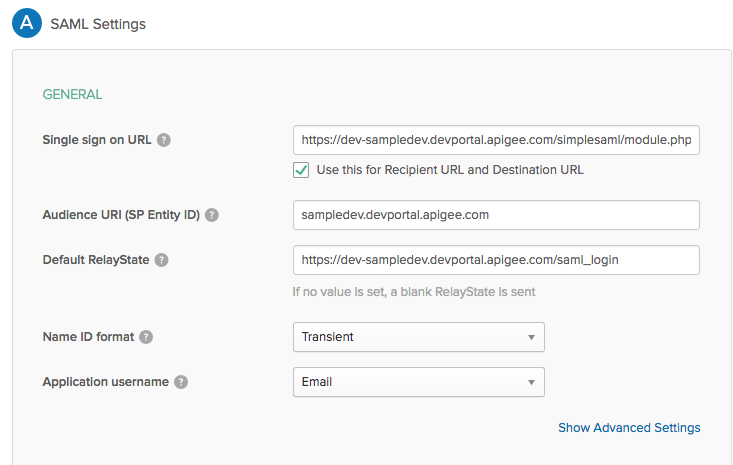
5)
a) Your SAML settings should be configured as shown below.
Single sign on URL:
https://env-orgname.devportal.apigee.com/simplesaml/module.php/saml/sp/saml2-acs.php/default-sp
Audience URI (SP Entity ID): orgname.devportal.apigee.com
This should be the same entity ID that you entered in step 6 of the SSO article.

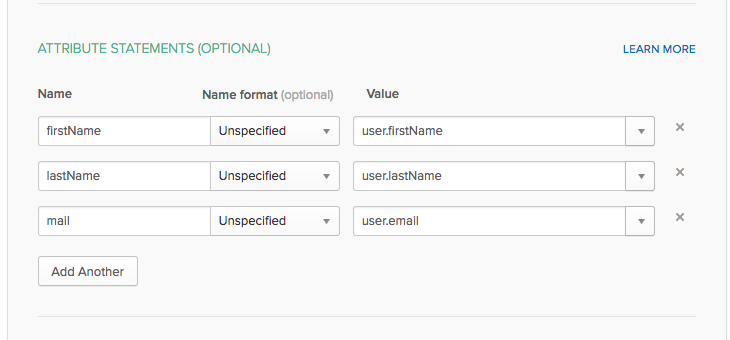
b) The attributes section should be configured as shown below.

6) Click the Next button.
7) Click the Finish button.
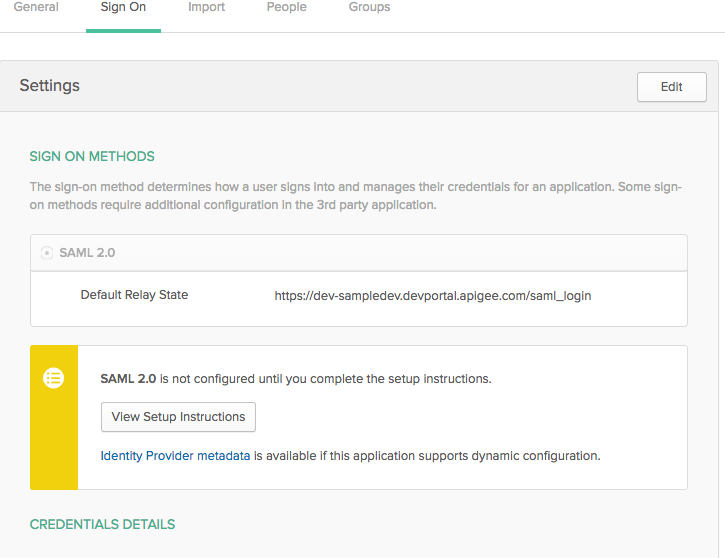
😎 You have successfully created your Okta application. The next screen allows you to download the IDP's metadata. Click the Identity Provider metadata button to download it. Now you can use this file to complete the Apigee Dev Portal SSO configuration as stated in Step 8 of the SSO article.

Topic Labels
Comments
williamssean
Staff
- Mark as Read
- Mark as New
- Bookmark
- Permalink
- Report Inappropriate Content
08-12-2016
11:36 AM